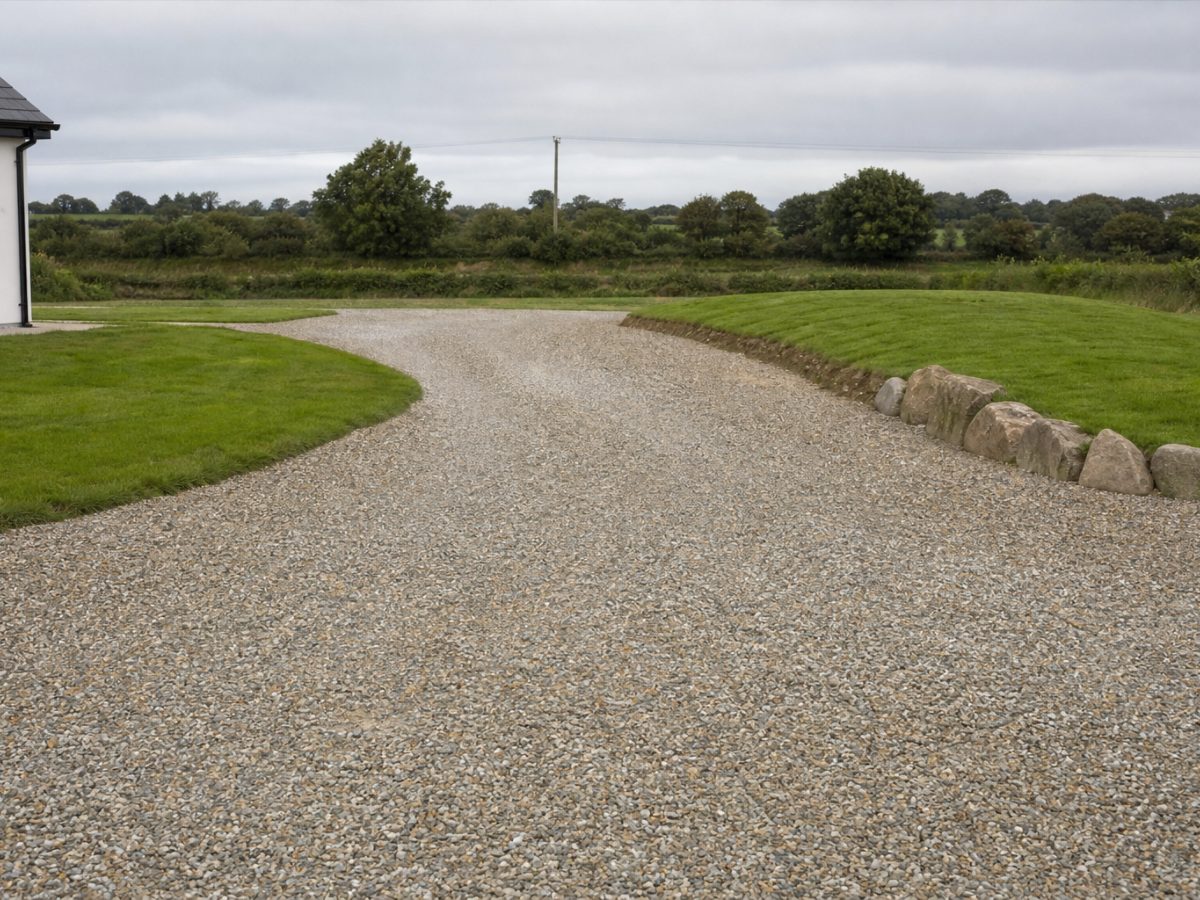
A gravel driveway looks like the straightforward option. It costs less than tarmac or block paving, you can usually lay it without planning permission, and it drains naturally. Which makes it all the more frustrating when it turns into a muddy, rutted mess by February. If you've seen that happen to a neighbour's drive, or lived through it yourself, the problem almost always started below the surface, not on top of it.
Here is how to do it properly, from the ground up.
Step 1: Strip out properly and assess what's underneath
Take off all the topsoil and vegetation. That usually means going down at least 200mm, sometimes more if the ground is soft. Topsoil compresses and retains water. If you leave any of it under your gravel, the whole thing will sink and shift over time.
Once you're down to subsoil, walk on it. If it feels spongy or you sink into it at all, you have a problem that needs sorting before anything else. Clay-heavy ground, which covers a good portion of the country, holds water and moves with frost. In that case you might need to go deeper, or bring in a layer of hardcore fill before your base goes in.
Step 2: Lay a solid sub-base, not just gravel over soil
This is the step most failed driveways skip entirely. You need a compacted sub-base of Type 1 MOT stone (sometimes called crusher run), laid at around 100 to 150mm deep and compacted with a plate compactor in layers. Hire the machine. Don't try to compact it by driving over it a few times. It doesn't work the same way.
If the area gets vehicle traffic, lean towards 150mm. For a pedestrian or light-use area, 100mm is usually fine. The sub-base is what stops your gravel migrating downward into soft ground every time it rains heavily, which in most parts of Ireland is most of the time.
Step 3: Get your edging in before any gravel goes down
Edging keeps the gravel where you put it. Without a solid border, it creeps onto the lawn, gets kicked onto the path and gradually thins out in the middle. Concrete edging blocks bedded into the sub-base work well. Metal or plastic landscape edging can also do the job if it's pinned properly and deep enough to resist being pushed aside by a car tyre.
Set your edging height so the finished gravel surface sits slightly lower than your threshold and paths. You don't want gravel washing into the house or spilling across the footpath every time someone opens a car door in the rain.
Step 4: Think about drainage before you add the gravel
Natural drainage is one of the main selling points of gravel drives, but it only works if there's somewhere for the water to go. If your driveway slopes towards the house or towards a boundary wall with no outlet, you'll end up with pooling.
A gentle fall of around 1 in 60 away from the house is ideal. If the ground doesn't naturally allow that, a simple linear drain or a channel drain at the base of a slope can redirect runoff. This is also worth thinking about in the context of your wider garden drainage, especially if you're in a low-lying area or have heavy clay. Your autumn home maintenance checklist is a useful prompt for checking how your current drainage is holding up before you commit to changing the surface.
Step 5: Choose the right gravel and lay it at the right depth
Angular gravel locks together and stays put. Rounded pea gravel looks attractive but it moves underfoot and under tyres, and it's the most common cause of the "skating rink" problem people complain about. Go for angular 20mm gravel, sometimes sold as self-binding gravel or as plain angular stone depending on your supplier.
Lay it at 50mm deep minimum. Below that and you'll see the sub-base through it within a season. Top up every couple of years rather than waiting until it looks thin, because once it gets below about 30mm it starts to move around on you.
A properly built gravel drive is genuinely low maintenance once it's in. The frustrating ones are usually just poorly built ones, and the fix is almost always underneath rather than on top. If you're bringing in a contractor to do this work, take your time vetting who you hire before anyone starts digging.